Vietnam Photography Guide for Black Travelers: Tips
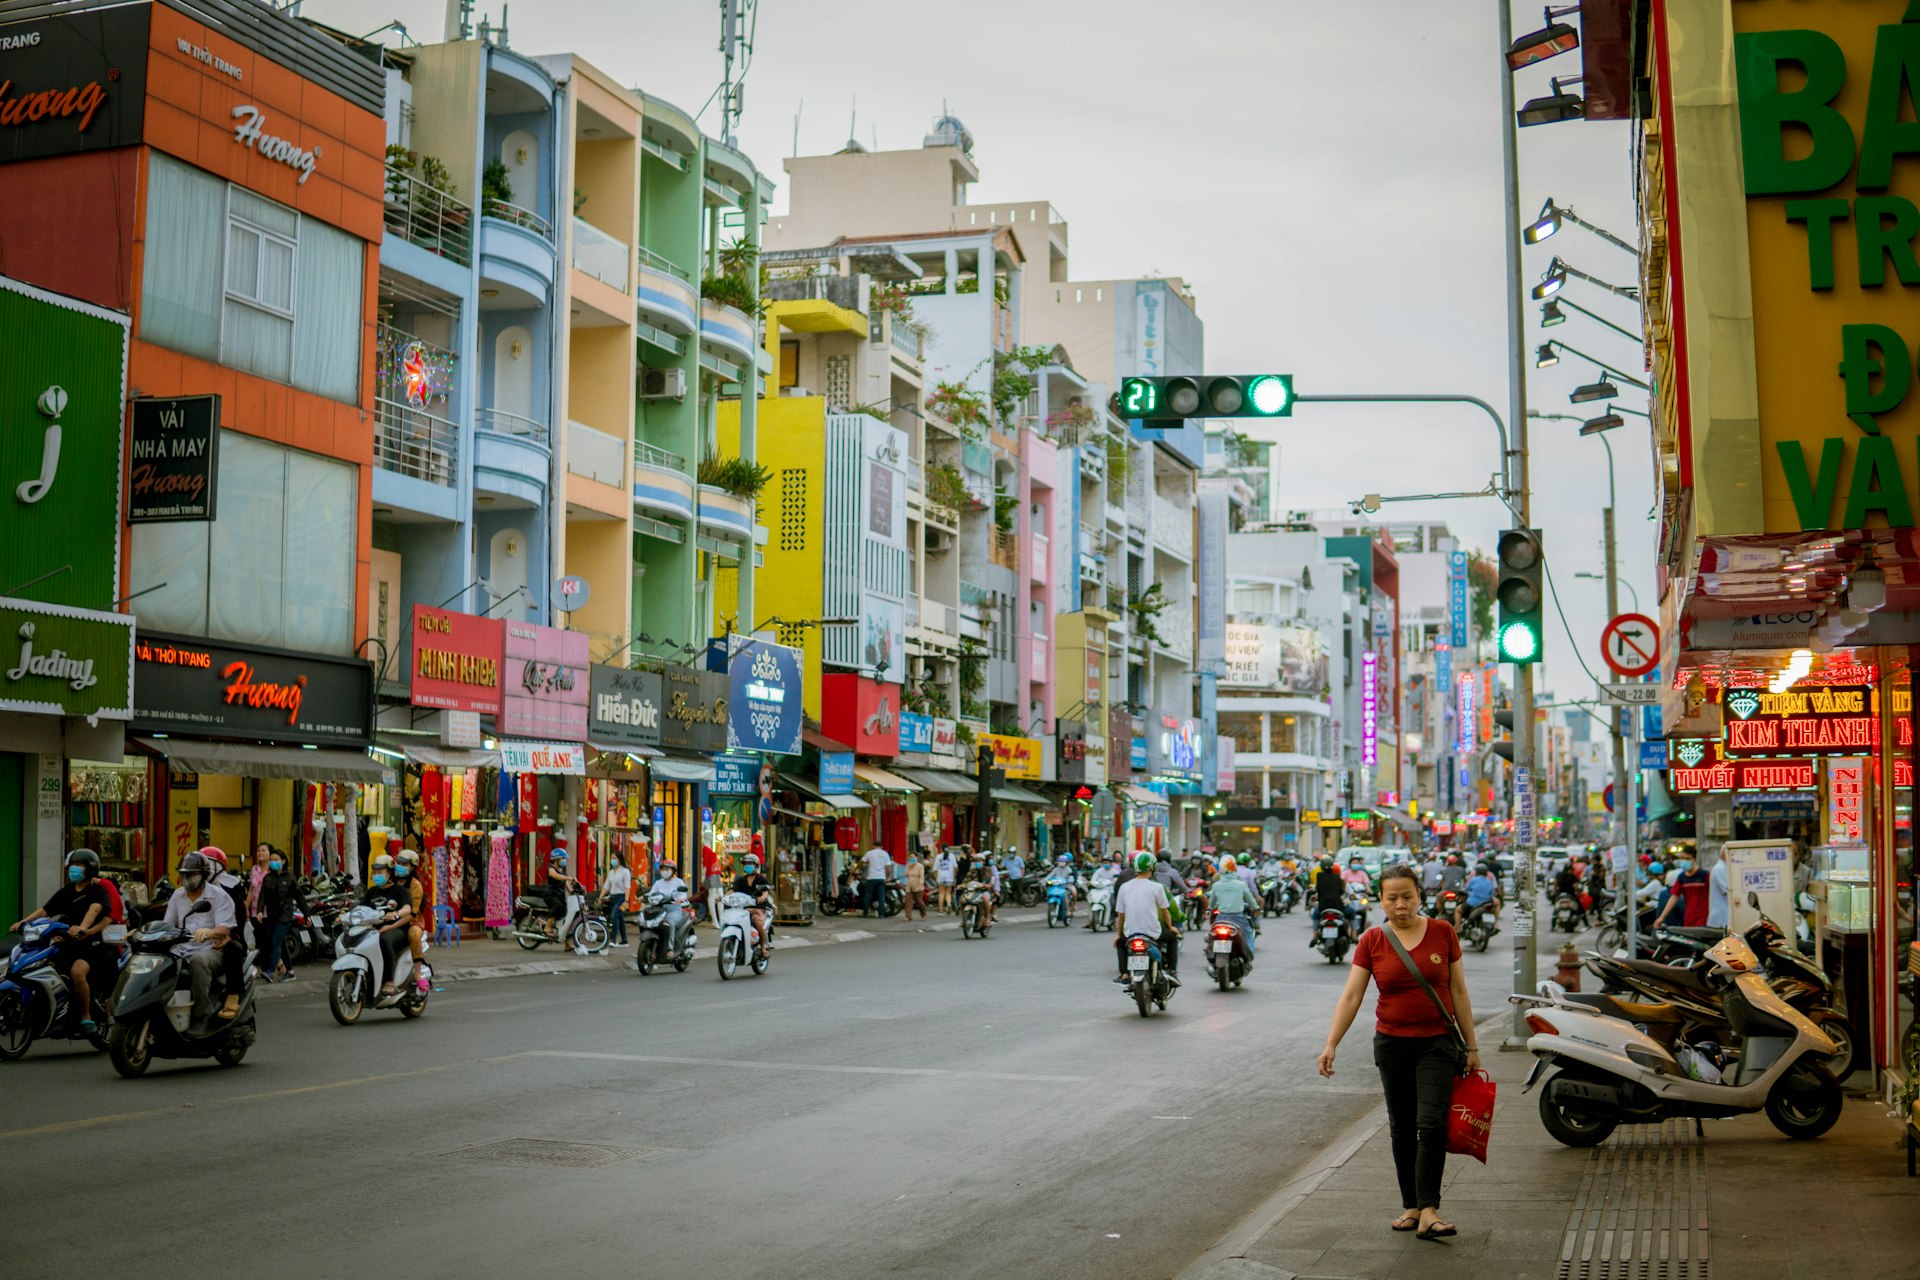
Much of the general travel photography advice you will find was written with lighter skin in mind, and it shows. Black travelers often come home from Vietnam with portraits that are too dark, street scenes that look muddy, or skin tones that drift from warm to gray depending on the hour. This Vietnam photography guide covers the fixes that work in the country's heat, humidity, and mixed lighting, from choosing the right time of day to reading your meter and setting white balance. Everything here is aimed at photography tips for Black travelers who want images that look like the people they saw in person.
Table of Contents
Quick Takeaways
Key Insight | Explanation |
|---|---|
Shoot portraits in open shade | Midday sun casts hard shadows under the eyes and nose. Open shade gives soft, even light that keeps detail in darker skin. |
Expose for the face, not the sky | Bright backgrounds fool the meter into underexposing your subject. Lock exposure on the face, then recompose. |
Set white balance yourself | Auto white balance shifts with every change in the background, so skin tones vary from frame to frame. A fixed setting keeps the color consistent. |
Shoot RAW every time | RAW files keep the shadow detail that darker skin needs when you lift exposure or correct color later. |
Pick mid-tone backgrounds | Stark white walls and pale shopfronts push faces darker. Muted walls, foliage, and fabric give the meter a more balanced reference. |
Ask before you raise the camera | Permission gets you a natural expression and avoids the tense moments that ruin a street session. |
Reading Light in Vietnam
Vietnam's sunlight is strong for most of the day, and that strength is the first thing to plan around. Between late morning and mid-afternoon, the sun sits high and carves hard shadows under brows, noses, and chins. On darker skin, those shadows can turn into blocked detail that no amount of editing will recover.

The best portrait light is usually open shade: the side of a building, a tree canopy, or the entrance of a covered market. Light wraps evenly around the face there, and the skin keeps its texture. Position your subject so they face the open area rather than the sun, and you will get a catchlight in the eyes without harsh glare.
Golden hour and the hour before sunset
Early morning and the last hour before sunset are the most forgiving windows. The light is warm, low, and softer, so contrast drops across the face. In the north, where autumn tends to be drier and clearer than the summer rainy months, these windows often produce the cleanest outdoor portraits.
Overcast days are underrated
A cloudy sky works like a giant softbox. Overcast light is common during the rainy months, and it flattens shadows across the whole face. Watch your background on grey days, because the colors in the scene can look flat even when the portrait itself is well lit.
Pro tip: Scout your light at the exact spot before your subject arrives. Stand where they will stand, take a test frame, and check the histogram rather than the back of the camera.
Exposure for Darker Skin
Camera meters aim for an average tone, close to middle gray. When a person with dark skin fills much of the frame, the meter can pull the face toward that middle gray, which means the face comes out underexposed while the background looks right. The result is skin that looks muddy and lacks the depth you saw in person.
Meters are calibrated to an average tone, so they will misread dark skin unless you correct for it on purpose.
Spot metering on the face
Switch to spot or center-weighted metering and point it at the cheek or forehead, where the light falls directly. Lock the reading, recompose, and shoot. If the face still looks too dark on review, add positive exposure in small steps. The right amount depends on the light, so judge each frame rather than applying a fixed correction.
Reading the histogram instead of the preview
The screen on the back of the camera is adjusted for brightness, so it can mislead you in bright sun. The histogram gives you the honest picture. For darker skin, most of the important data sits on the left side, and you want shadow detail in the face rather than solid black. If the graph touches the right edge, you have clipped highlights somewhere in the frame.
Protecting highlights in harsh sun
Direct sun can blow out highlights on the forehead and cheekbones. Expose so those highlights hold, then lift shadows later in editing. Blown highlights erase the sheen and texture that make a portrait look three-dimensional, and you cannot bring that back afterward.
Clothing, Backgrounds, and Color
Clothing and surroundings affect your exposure reading as much as the light does. Many photographers focus on the lens and forget the fabric, but a bright white shirt can pull the meter down and make the face look darker than it is. Before you shoot, look at what the subject is wearing and what is directly behind them.
Choosing clothing that holds detail
Very white fabric pulls exposure down and can blow out in sun, while matte black can absorb detail and merge into shadows. Mid-tone colors such as deep green, rust, muted blue, and warm ochre give the strongest separation from skin. Textured fabrics like linen or knit read better than glossy synthetics, which catch hard highlights.
Backgrounds that separate the subject
Plain, mid-tone backgrounds are the most reliable. A green hedge, a weathered wall, or a door painted in a muted color lets the subject stand out without fighting the meter. Pure white walls and pale pastel shopfronts push exposure in the wrong direction, so either move the subject a few steps or add positive exposure compensation.
Color cast from colored surroundings
Walls, awnings, and signs throw color onto skin. A red awning can warm a face standing beside it, and green foliage can add a cool tint. Check for this while you compose, and move the subject a step to clear the reflection. Reflected color is much harder to correct in editing than a simple white balance error.
Best Photo Spots in Vietnam
A good location solves half the lighting problem before you pick up the camera. Vietnam offers a wide range of settings, from dense old towns to busy markets to rural landscapes, and each one suits a different kind of shot. The categories below consistently reward patience, and each one has its own lighting trap.

Old town streets and lantern-lit lanes
Hoi An's old town is one of the most photographed places in the country, and the reason is clear: narrow lanes, warm-toned facades, and soft light that bounces between walls. A photographer's guide to 15 photo spots in Hoi An, linked in the references, is a useful starting map. In practice, go early, before tour groups arrive, and look for doorways where light falls across one side of the face.
Markets and street scenes
Markets in Hanoi and Ho Chi Minh City are full of color and motion, but they are hard on exposure. Shopfront lights, fluorescent tubes, and strong sun at the entrances create mixed light in one scene. Shoot your subject under a canopy or inside a shaded stall, and let the bright background fall out of focus rather than exposing for it.
Coastline and rural landscapes
Open coastline and countryside scenes give you so much sky that the landscape will tempt you to expose for it. If a person is in the frame, meter for them separately and recover the sky later with a gradient or brush mask. Rural rice fields are at their most photogenic in the morning, when mist still sits low over the water.
White Balance Approaches
White balance is where many portraits go wrong without anyone noticing. Auto white balance reacts to every change in the scene, so the same person can look warm in one frame and cool in the next. A fixed setting keeps color steady across a session, and that steadiness makes editing faster and more predictable.
Three approaches cover most situations. Each one has a clear use case, and the table below shows where each fits.
Approach | Where It Works Best | Where It Falls Short |
|---|---|---|
Auto white balance | Quick street snapshots when you have no time to adjust | Shifts between frames, so skin tones vary within a single set |
Manual Kelvin setting with a gray card | Portrait sessions in consistent light, such as open shade | Slows you down in fast-moving markets and changing light |
Shooting RAW and correcting in post | Any situation where you can review files later and match skin tones | Requires careful editing and can look unnatural if pushed too far |
My default is a manual setting for portraits and auto for quick candids, with RAW files for everything. That combination gives you consistent skin in the frames you planned and enough flexibility to fix the ones you did not. Switch the setting when the light changes, not when your subject moves.
Editing Skin Tones and Noise
In editing, balance the white balance first so skin looks natural, then work on contrast and exposure. Many editors push darker skin toward gray or ash when they lift shadows, and a small move in the temperature or tint slider often fixes it. Compare your edit to the subject's skin in natural light, not to a generic preset designed for a different complexion.
Lifting shadows on dark skin can also bring out noise that looks like grain across the cheeks. Keep ISO as low as the light allows, and apply noise reduction carefully to skin while leaving texture in the eyes, hair, and clothing. Over-smoothing removes the detail that makes a portrait feel real.
Pro tip: Photograph a neutral gray card in the same light at the start of each session, and use it as your white balance reference when you edit. It takes about ten seconds and saves time at the editing stage.
Photographing People Respectfully
Good lighting is wasted if the subject does not trust you. A relaxed person makes a better photo, and tension shows in every frame. Your approach matters as much as your settings, especially when you are a visible foreigner with a large camera in a crowded place.

Asking first and showing the result
Use a simple phrase, lift the camera slightly, and wait for a nod before you shoot. If you can, show the frame on the back screen. People who see themselves on the screen usually relax, and the next few frames are often the best of the set.
Working with vendors and families
Market vendors, street food cooks, and families at local spots are often happy to be photographed when you ask. If someone agrees to a photo and you promised a copy, send it. A broken promise can close the door on the next good shot in that neighborhood.
Knowing when to put the camera away
Funerals, religious ceremonies, and private family moments are not photo opportunities, even when the light is perfect. A useful test is whether the moment belongs to the people in it rather than to the viewer. If it does, put the camera down. The best images often come from trust you built earlier in the day, and that trust takes longer to earn than the shot itself.
Pro tip: Carry a small printed card or use a phone screen to show your work to subjects. Showing a photo on the spot builds trust faster than any explanation.
Frequently Asked Questions
Do I need special gear to photograph darker skin well in Vietnam?
No. Good results come from light, settings, and location more than from equipment. A camera that shoots RAW, lets you set a fixed white balance, and offers spot metering covers almost everything you need. A fast lens helps in dim interiors, but it is a bonus rather than a requirement.
What time of day is best for portraits in Vietnam?
Early morning and the last hour before sunset are the most forgiving because the light is softer and warmer. If you cannot wait, use open shade at midday. Avoid direct overhead sun between late morning and mid-afternoon, since it creates the hardest shadows.
Should I use a flash for portraits in Vietnam?
A reflector is usually the simpler choice in daylight, since it bounces existing sun into shadows under the eyes without changing the color. Flash can work for fill, but keep the power low. Strong flash flattens the face and can create a harsh, unnatural catchlight.
Is it okay to photograph people in markets without asking?
Wide shots of busy markets are generally acceptable, but close portraits should be requested first. Ask with a gesture and a smile, and accept a no without argument. A photo taken without consent often shows in the expression, and it rarely becomes your best frame.
What is the fastest way to fix skin tones in editing?
Set white balance using a neutral reference from the same light, then adjust exposure and shadows gently. Compare the result to the subject's skin in natural daylight. Small moves work better than large sliders, and heavy saturation tends to make skin look artificial.
What settings or locations gave you your best results when photographing in Vietnam, and what would you change next time?


Comments